Product introduction
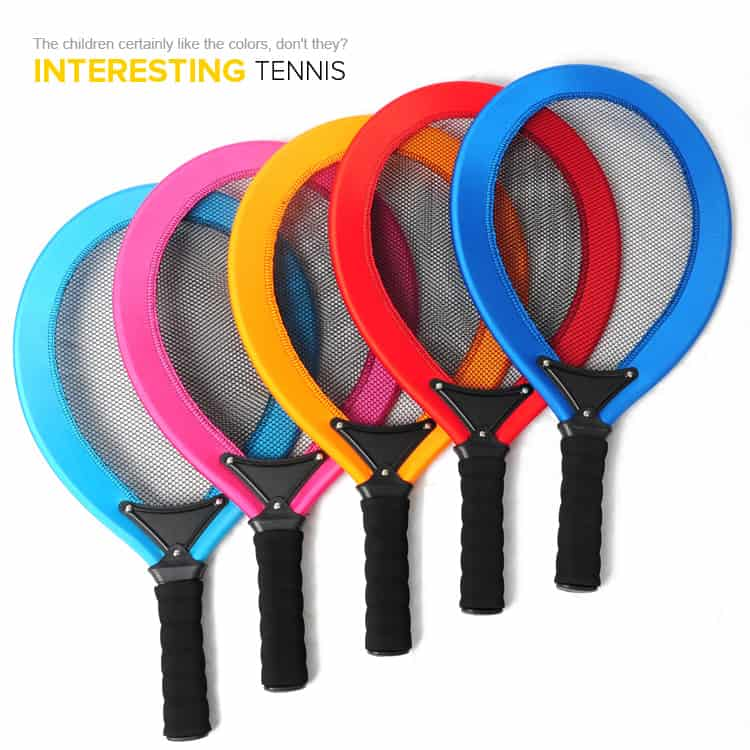
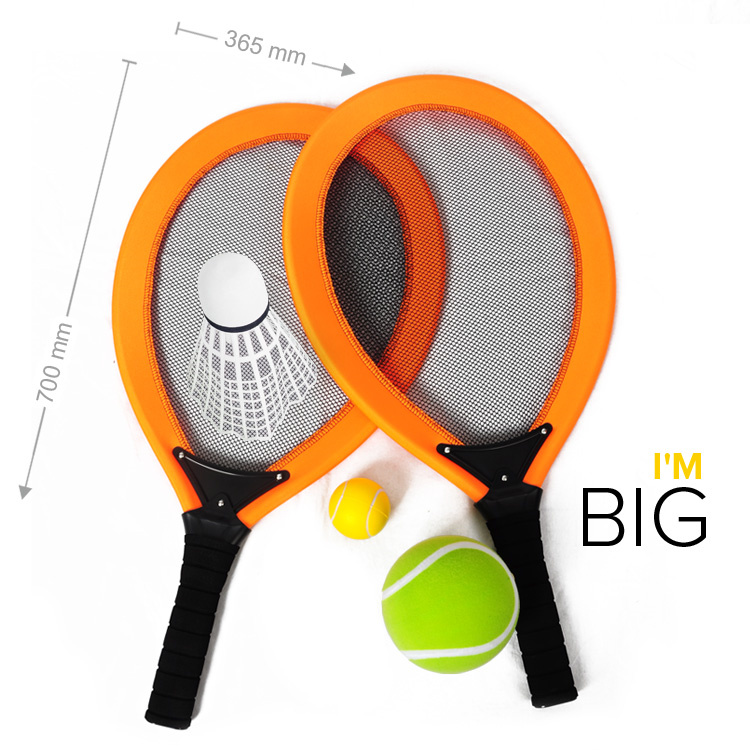
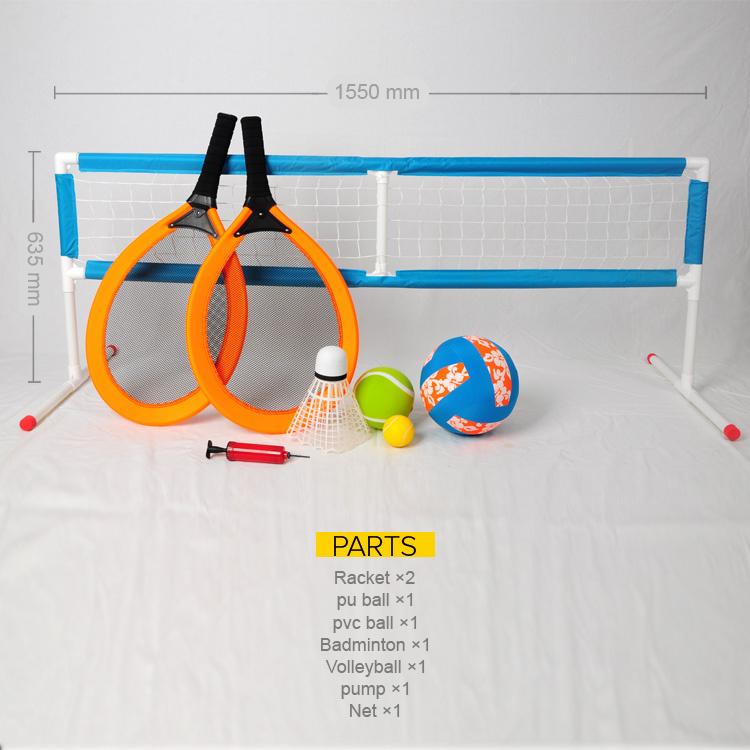
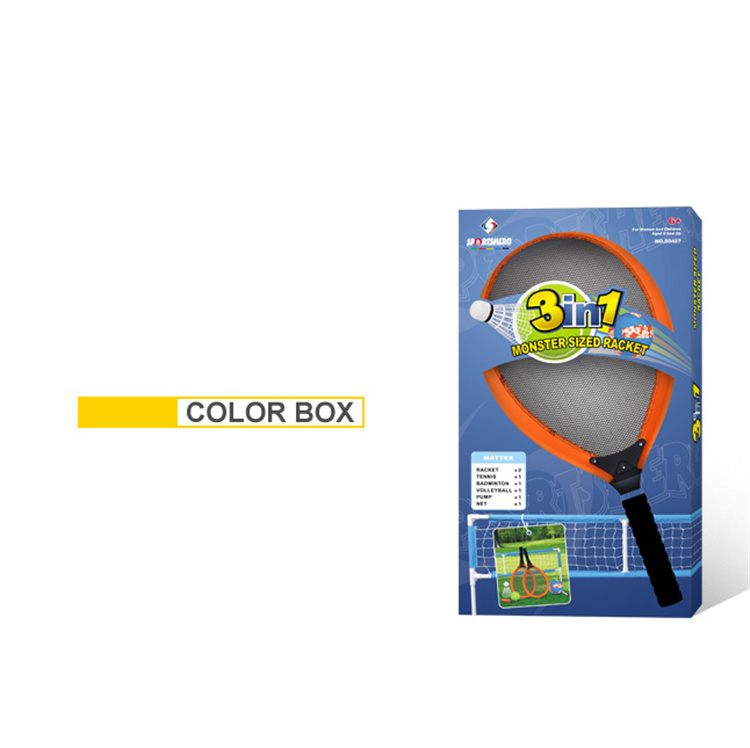
3 In 1 sports game set, this Jumbo Racket Sports Game includes everything you need for an oversized game of tennis with the net! Quick setup and deletion-it only takes 3-5 minutes to set up the network, without any tools, even a child can do it! The height is 54cm for the net. The perfect game to get out and enjoy warm weather with friends or family. That have 3 functions on it, the first is shuttlecock, the second is volleyball , the third one is tennis ball. the inflated volleyball dia. is 20cm that is with shining color, the other inflated tennis ball dia. is 13cm. This set with the net , so the children play it will be more funny, more wonderful. Perfect for: Play badminton on the beach, driveway, backyard and any flat area, change volleyball, tennis. Our net is perfect for camping and family vacations. Your little ones will love playing with this beautiful pair of racquets both indoors as well as outdoors. It can also be gifted as a birthday, Christmas gift for boys and girls. It develops kids' reaction, hand-eye coordination in beginners and enhances your physical health. It is perfect over short distances, as well as for the beach, park or backyard.
Includes
- 1 Freestanding net (25 Pieces, Including PVC tubes)
- 2 oversized rackets
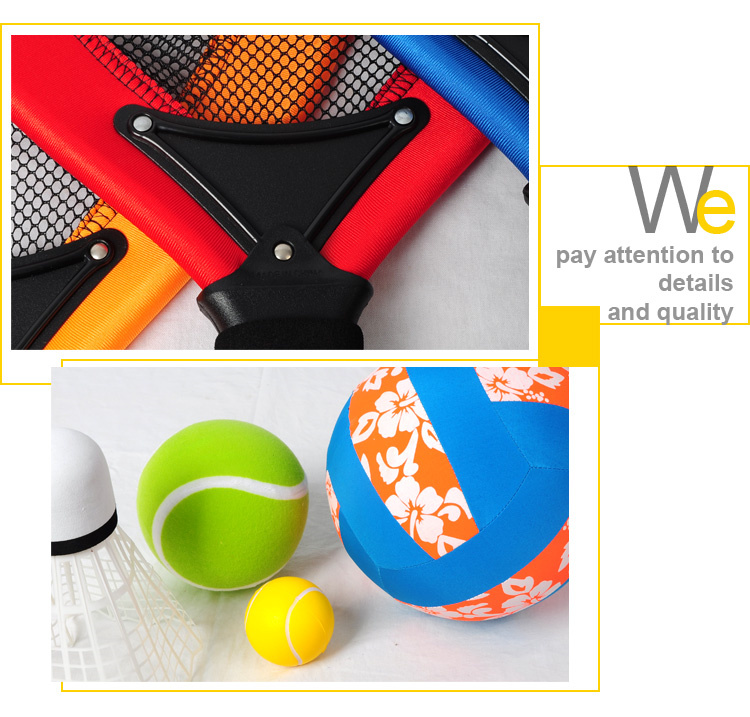
-1 colorful volleyball
-1 green large and small foam PU tennis balls
-1 oversized badminton birdie
- 1 air pump

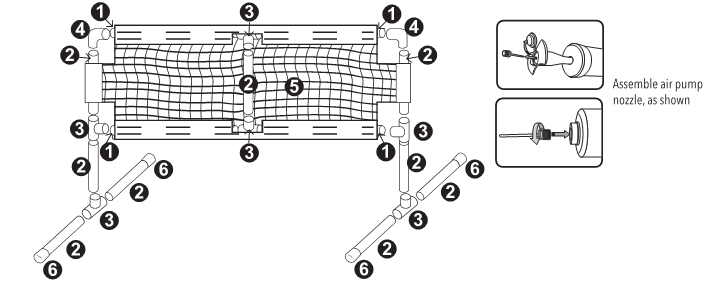
Net Assembly
Lay net out on a flat surface.
Connect straight pipe sections, as shown, and thread through net pockets-top and bottom, left and right, and center.
Connect all straight pipe sections at corners with elbow sections(4). Attach center to top and bottom section with t-pipes(3).
Finally, connect standing base sections, as shown.
Install using
-
SPORTSHERO Double Basketball Shooting With Scor...
-
SPORTSHERO Kids Baseball Set Includes 20 Inch ...
-
SPORTSHERO Stands Up Basketball Hooop
-
SPORTSHERO Foam Axe Throwing Game
-
SPORTSHERO basketball Hoop – high quality...
-
SPORTSHERO Hanging in Magnetic Dart Board Game...


